It’s officially sandal season! I love when I can switch over my closet and shoes to summertime favorites, and my feet can once again be happy and free in sandals or open-toe shoes. It’s also pool and beach season. Even more incentive to get my tootsies in tip top condition!
I’m a DIY (do it yourself) kind of gal, so I rarely get manicures or pedicures at the salon. It’s more fun to reserve Sundays for a little pampering at home. Taking care of your feet is part of maintaining your health. Your feet really do amazing things for you, like give you stability, support, and strength. They deserve some extra TLC, to look and feel their best.
On Sunday nights, I often pamper myself with a bubble bath with lit candles, a glass of red wine, and a book. I’ve created this 6-step pedicure at home regime and DIY spa at home to relax, detoxify, and restore. It’s a great time to do something nice for myself before the crazy week starts!
Prep:
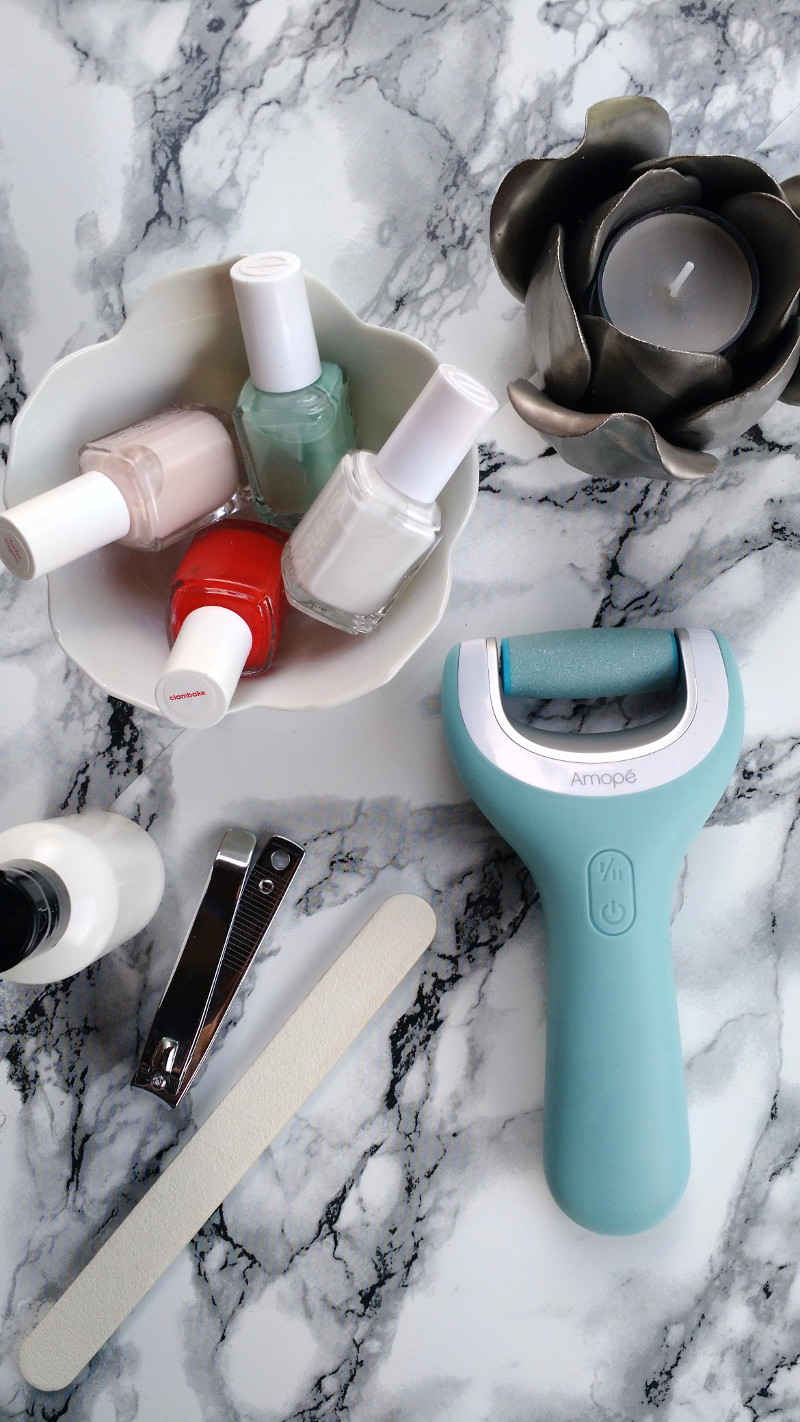
- Gather necessary items:
- Epsom salts (bonus if it contains Eucalyptus Oil!)
- Amopé Pedi Perfect Wet & Dry™ Rechargeable Foot File
- Straight-edge nail clipper
- Emery board
- Moisturizer, Coconut Oil, or All-natural Oil
- Nail polish remover
- Nail polish, including base and top coat
- Fill a small tub or bathtub with warm water
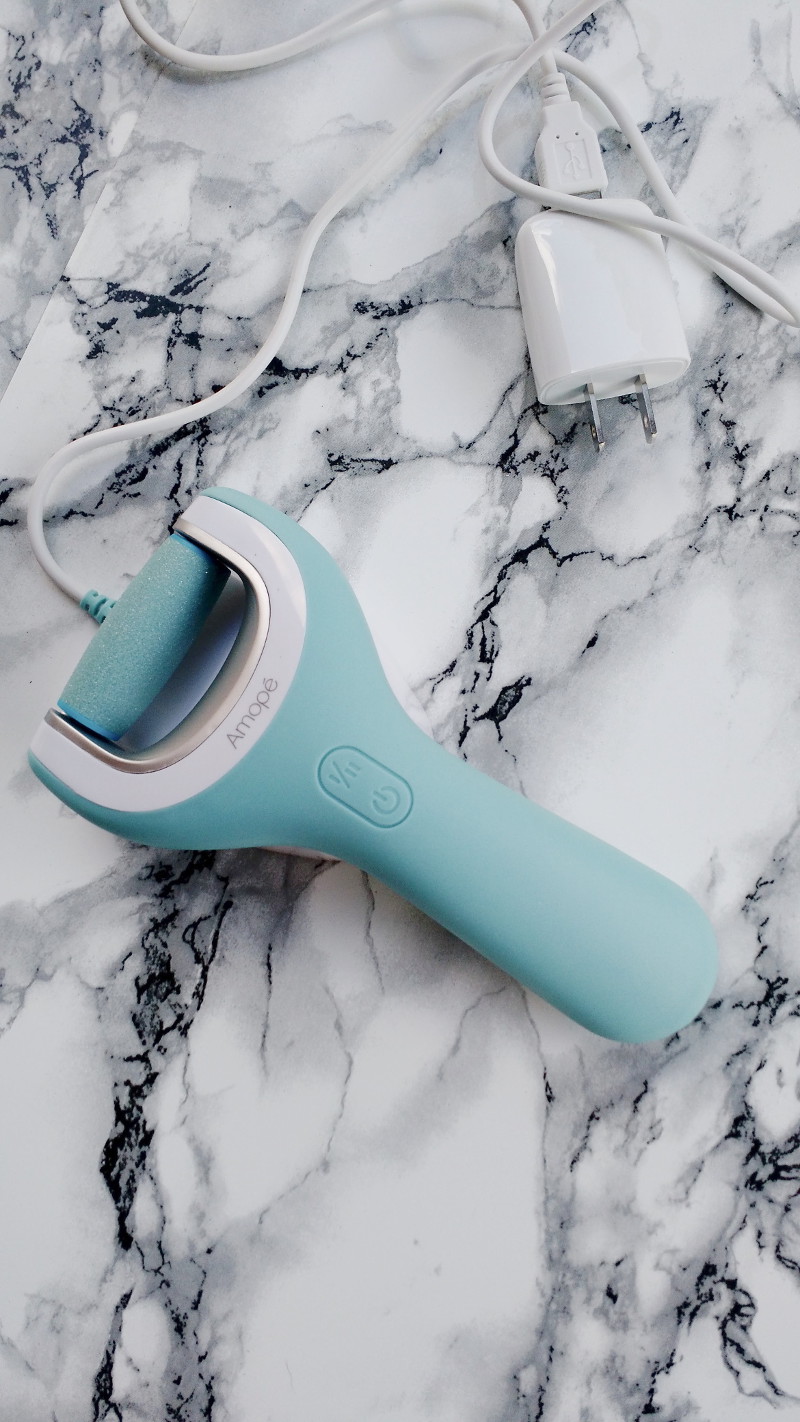
- Fully charge the Amopé Foot File using the provided charging dock and cable. Recharge after every use.
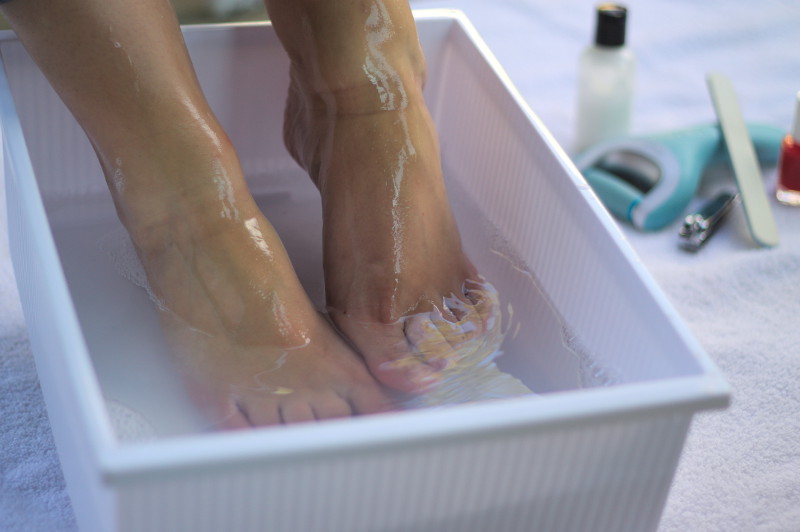
Step 1: Soak
Add a handful of Epsom salts to a tub of warm water, and soak your feet for 3-5 minutes or until they are soft and soothed.
I love using an Epson salt containing eucalyptus oil. It’s one of nature’s most powerful ingredients for moisturizing, soothing, and detoxifying hard-working feet. According to this article published by Life Extension, eucalyptus oil “helps the skin’s outer layer to retain moisture”, which is extremely important for the feet, since they can excrete as much as one pint of moisture every day. This oil is often used in therapeutic programs to help cleanse and detoxify the skin, and is also “known for it’s potent antibacterial, antifungal, and antimicrobial properties that protect your feet against a wide range of microorganisms that prosper in moist, dark environments.” For people with poor circulation, joint and muscle aches, it’s also a proven analgesic and known for its natural soothing properties that hydrate, soothe, and protect the feet.
Source: Goldfaden, Gary, MD. “Revitalize Aging Feet: The Importance of Proactive Foot Care” Life Extension. Life Extension, September 2008. Web. June 2016.
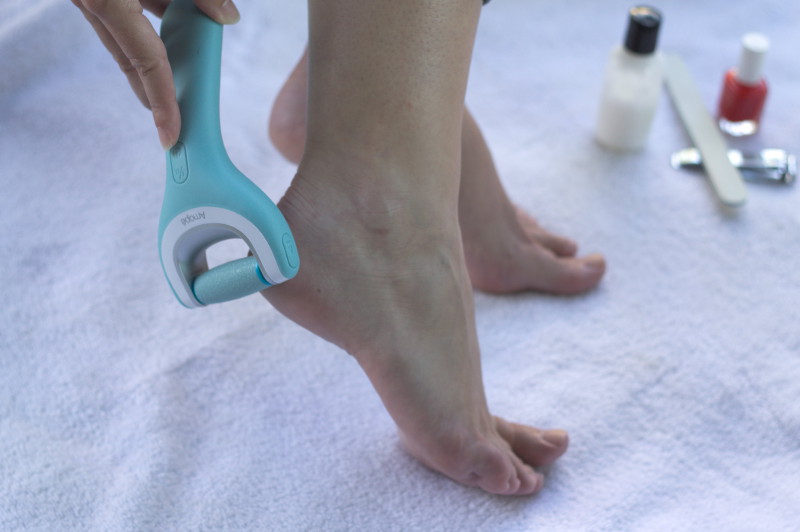
Step 2: Exfoliate
It’s so important to exfoliate your feet before moisturizing!
After you’ve patted your feet dry, use Amopé Pedi Perfect Wet & Dry™ Rechargeable File to slough off dead skin cells. Turn on the Amopé Foot File by pressing the on/off button. Use the top button to switch between low and high speed. For use on dry skin, use the low speed. For use on wet or extra tough skin, use the high speed. Gently glide the roller head over hard skin for no longer than 3 to 4 seconds in one area. If too much pressure is applied, the unit will stop. Continue with regular passes until the dead skin exfoliates and your feet are silky soft. Wipe or rise your feet to remove any excess dead skin and if using on wet feet, thoroughly dry your feet.
This sample product was kindly sent to me by Amopé for review.
I love my Amopé Pedi Perfect Wet & Dry™ Rechargeable Foot File because it’s so easy, foolproof, and buffs away dry, hard skin anywhere. Since it’s waterproof, I can use it on wet feet in the shower or bath, or on dry skin. And my feet are really soft and happy afterwards. I bet Paul appreciates it too…no more rough feet rubbing up against him in bed!
Where to buy: Amopé Pedi Perfect Wet & Dry™ Rechargeable Foot File can be found in the foot care aisle at Target. Click here to get 5% off at Target!

Next on my list to try? Amopé™ Electronic Nail Care System and Amopé™ Nail & Cuticle Care Oil.
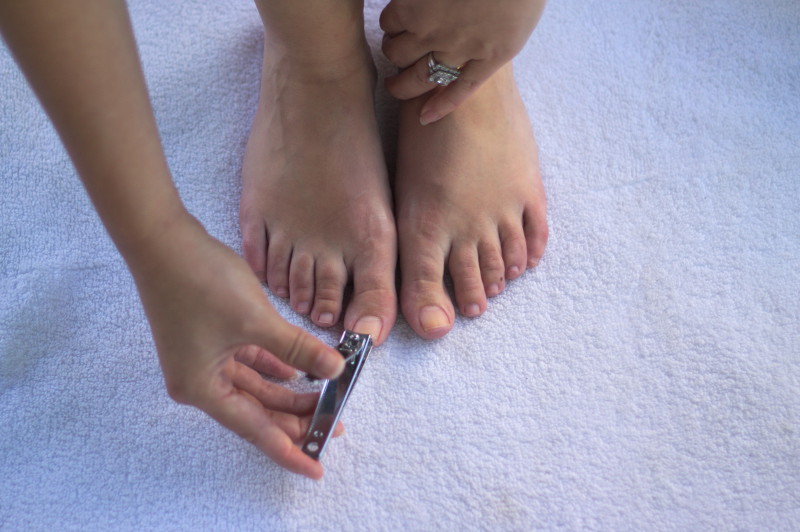
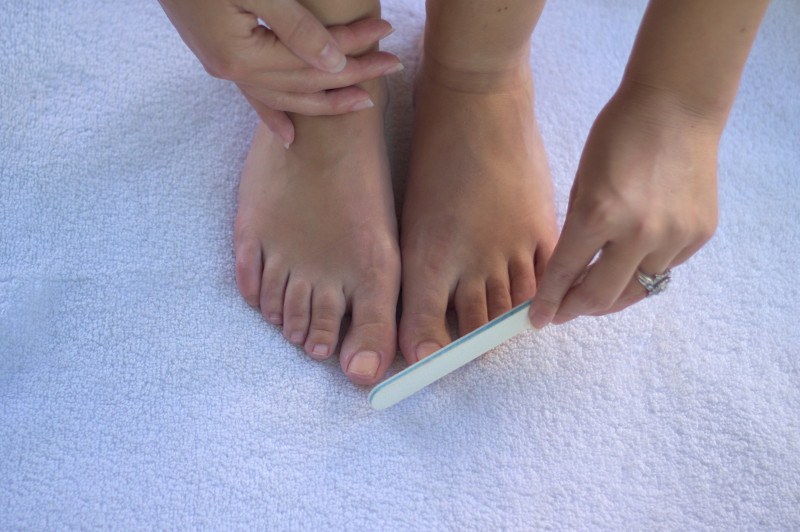
Step 3: Trim and File
Using a straight-edge clipper, trim nails straight across with three cuts on each nail, since clipping the entire nail at once can cut it too close to the skin. This also helps to prevent ingrown toenails. Smooth the edges with a fine-grit emery board.
Step 4: Moisturize
Rub the tops and bottoms of your feet with a rich cream, and don’t forget your heels and cuticles!
Coconut oil is an awesome natural moisturizer. It softens and moisturizes while removing dirt from the outer layer of skin, leaving it shiny and smooth. Its known as a key ingredient in optimal foot care, “credited with antibacterial, antiviral, and antifungal properties,” which can help to prevent skin infections and fungal infections. Coconut oil “creates a thin, protective mantle on the skin that helps keep pathogens at bay.”
Source: Goldfaden, Gary, MD. “Revitalize Aging Feet: The Importance of Proactive Foot Care” Life Extension. Life Extension, September 2008. Web. June 2016.
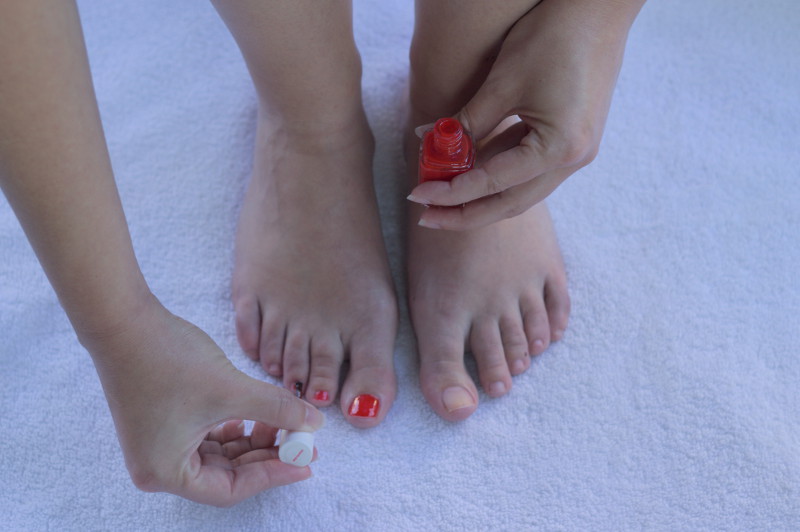
Step 5: Polish
Wipe off leftover cream from nails using a towel or cotton pad soaked in polish remover.
Apply a base coat, two coats of nail color, and a topcoat.
When choosing a nail polish remover and nail polishes, check each product’s rating on the EWG’s Skin Deep® Cosmetic Database or EWG’s Healthly Living App to make sure it’s safe and does not contain harmful ingredients.
Step 6: Dry
I recommend at least 15 minutes before you try to slip on open-toed shoes. It can actually take up to two hours for your nails to dry fully. To speed things up, after I apply nail color and let it dry for one minute, I brush natural oil, such as coconut or almond oil, over my nail and cuticles. Once the nail color is dry, I also massage this oil into my cuticles for added moisture.
While your nails are drying, keep the spa day going by propping your feet up and enjoying a glass of wine, a magazine, or a 10-minute meditation.
Voila! Happy, beautiful feet that are ready for summertime fun!
